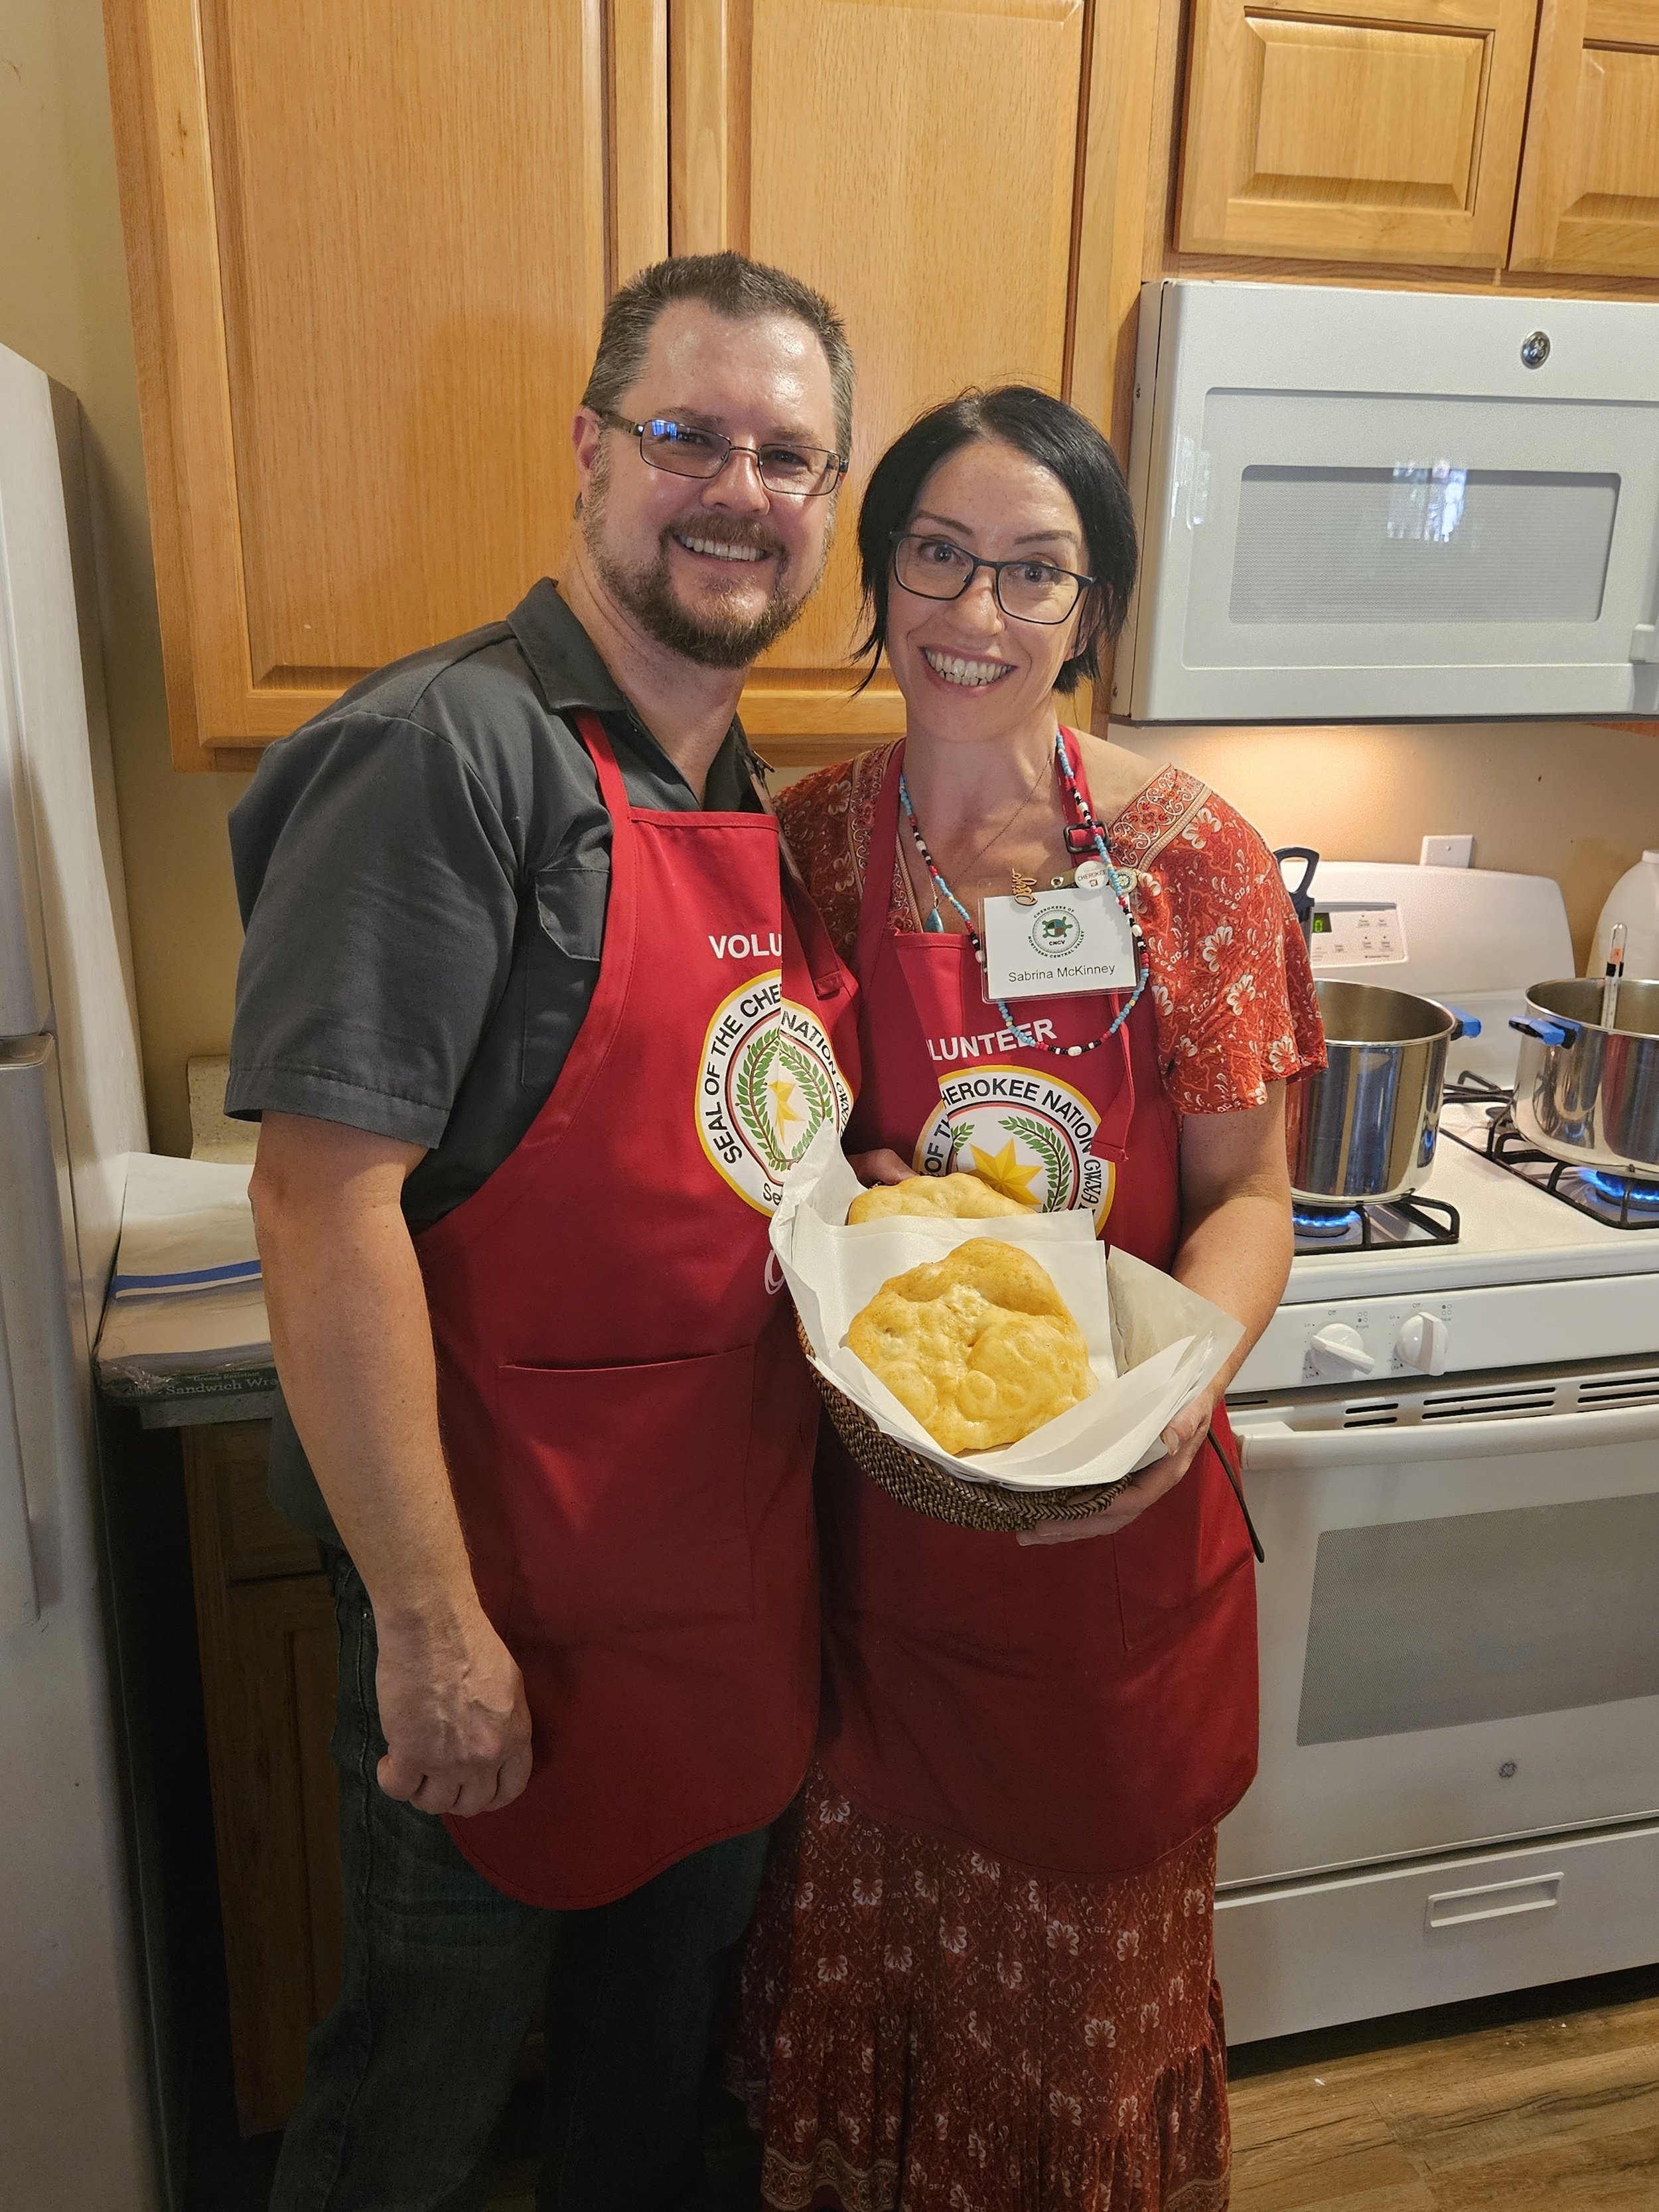
Fry Bread History and Recipe
This comfort food can be divisive, as there are different opinions surrounding it. Fry bread is not traditional to our Cherokee diet during the pre-European contact era. Instead, it has grown to be enjoyed among many Native cultures today and is often enjoyed at gatherings, including our own.
Fry bread’s origins are not exactly known, as many different tribes claim they first made it. It is often traced to the Diné (Navajo). However, it is also likely that many tribes, including the Cherokee, created the food around the same time as they faced similar conditions.
In the mid-1800s, when the United States government forcibly removed many Indigenous people from their ancestral homelands, including our own, longstanding foodways changed. Many were unable to traditionally forage, hunt, and grow familiar crops like they used to. Dependence on government-rationed commodities of powdered, preserved, and dry goods became more common. Thus, fry bread was born.
Despite this colonial history, fry bread has become a new traditional and transformative way to reclaim foodways by creating something tasty that we can share together. Using the resources available, we as Cherokees can come together, enjoy, and break bread as a people.
The basic ingredients are simple: flour, salt, baking powder, water, and love. Some like to add milk. Indian tacos are a common way to eat fry bread (add meat and/or beans with toppings of your choice) but it can also be eaten alone or with honey.
Be sure to practice moderation and balance, as Cherokee values with all things, including eating fry bread.
Sabrina’s Fry Bread Recipe:
ᎦᏚ ᎪᎢᎯᎬᏂᏍᏙᏗ ga-du go-i-hi-gv-ni-s-do-di
(bread that is fried)
About 8 servings
INGREDIENTS
3 cups all-purpose flour
1 ½ teaspoon salt
2 Tablespoons baking powder
2 cups water (could substitute milk)
Oil for frying (vegetable oil but could substitute canola oil or lard)
INSTRUCTIONS
In a bowl, mix flour, baking powder, and salt. Slowly add in the water and mix. You may not need all the water. You need just enough to get the dough to combine. The recipe is forgiving, however. If you accidently add a little too much liquid in and the dough is too wet, just add little more flour in or vice versa.
Put the dough on a lightly floured surface and knead until you get a smooth and elastic feeling to the dough to create a ball. Let rest covered with a clean towel or plastic for 30 minutes. If you are preparing ahead, you can wrap the dough ball in plastic and leave in the refrigerator until ready to use, no longer than a few days. When ready to use, take out for about 30 minutes.
In a large stockpot with taller sides or a large stockpot (helpful to contain grease splatter), heat about 2 inches of oil on the stove over medium-high heat. A thermometer is helpful to maintain a frying temperature of around 350-360 degrees Fahrenheit.
Divide the ball of dough into 8 pieces on a lightly floured surface. Keep the pieces you are not working with covered with plastic. Shape a piece into a ball and then flatten each piece between your hands to make it as big and thin as you like (some people like them thinner and crispier, others like them thicker and fluffier – it’s up to you!). A typical sized disc is about 6 inches across and and under ¼ inch thickness. Try out different thicknesses to see what you and yours like. Remember that they will puff up in the oil. Pierce a small hole in the center of each dough circle (this is helpful so they do not puff up too much).
Slowly add one piece of dough to the prepared pan, keeping it floating flat. While one piece is frying, you can start shaping the next piece of dough.
When you see the bottom edge of the dough turn a golden brown, flip the dough using metal tongs. When the other side does the same, remove the piece and place on paper towels.
Continue with the rest of your dough pieces by shaping, adding to oil slowly, and frying until you are done with all your dough.
Serve your as desired, such as open-faced Indian Tacos or with butter and honey or jam.
Notes:
For safety, a good technique is to slowly lay the dough in the oil closest to you, working your way backwards, always keeping your hands above the oil with the goal of not splashing hot oil on yourself. Be careful around the hot oil, especially if working with a gas stove.
Adding the dough in too quickly can also cause an air bubble to get trapped underneath, causing the dough to be more of a bowl shape than flat. This is fine, but part of the fry bread will not turn a nice golden color because it won’t be touching the oil.
When laying the dough in the oil, if an edge folds over on itself, use long metal tongs to quickly reshape flat or simply enjoy a slightly differently shaped piece later. Any fry bread is good fry bread. It is not about perfection. Each piece will be unique and tasty.
When the oil temperature is about 350 degrees, this usually only takes a minute or two per side. Continue frying one piece of dough at a time until you are done.
While you fry, watch your oil temperature and/or frying time to see if you need to adjust the burner’s temperature (if it is taking too long or the temperature is dropping well below 350, increase the temperature slightly; if it is frying very quickly or the temperature is well above 360, decrease the temperature slightly). As you fry, the temperature may fluctuate.
When you’re done, remember not to dump the oil down the drain.
— Sabrina McKinney


